
In this document I discuss the experiences that I had in adding maps to the dialog of my trip around the US. The steps I took include:
I used the following steps in getting the maps into raw digital form. I use the term raw to mean a digital image that will not be served by a web server since it might well be over 100 MBs large.
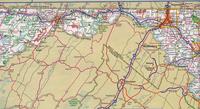
I had one of those large atlases, and my scanner wasn't big enough to scan the entire page at once. The first pass through, I tried to economize the number of scans I made, but the resultant quality was poor. Guess which state this is?
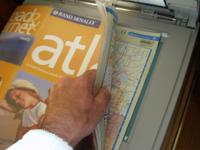
Instead, I made two scans for every page. The advantages are that it is easier to line up the map on the scanner: simply align the map with the paper guides.
It is then also easier to stitch the resultant tiles since little, if any, rotation will be necessary.
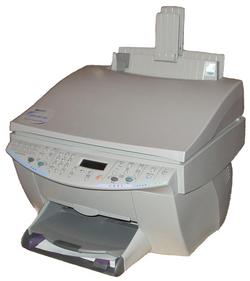
By the way, I'm using an HP OfficeJet G85, shown at right. I'm running the HP OfficeJet (hpoj) software to talk to the unit on my Debian GNU/Linux system, of course! I'm currently using the parallel port, but as soon as I figure out how to get the hpoj software to find the USB port during setup, I'll cease and desist. On the UI side, I'm using Xsane. See Scanning Slides, A Personal Story for more information.
Move the cursor into the image and bring up the context menu with
the right mouse button and run, for
example: Image->Transforms->Rotate->90 degrees.
Bring up the context menu and run View->Info Window.
This doesn't have to be accurate, just a little larger than the tiles. You'll crop it down later.
Use the context menu File->New. Use the dimensions you
calculated in the previous step.
Use the Layers->Layers, Channels & Paths context menu
to bring up the Layers dialog. Make sure that your new image is
selected in the Image field, and click on the
New button to create a new layer. Use the dimensions in
the image information window for the dimensions of the layer. Give the
layers names like "upper left", "lower right," etc. I find that
turning off the Auto button by the Image
field is handy to minimize the chance of creating layers in the wrong
image.
Bring a layer to the top of the stack using the arrow button on the
Layers dialog (or more easily, do this step as you create the layers
since new layers appear at the top already). Move the cursor into the
image of the tile for that layer and press C-a to select
the entire map. Press C-c to copy it into the clipboard.
Move the cursor into your new image and press C-v to
paste it.
You'll see a Floating Selection in the Layers dialog. Anchor
the floating selection by clicking when you see the anchor cursor.
Since not all modes support an anchor cursor, don't be alarmed if you
don't see it. You can anchor the image with image context menu item
Image->Layers->Anchor Layer or the Layers context menu
item Anchor Layer or by pressing C-h.
Select the move tool from the tools dialog or with m
and move the layer into position. My tiles are 7-10 MBs (compressed)
and the resultant image starts out at 122 MB (to handle 4 tiles,
uncompressed), so this is v e e e r y slow, even on my Athlon 1500
with 512 MB memory. Indeed, a lot of the following operations are
extremely slow too.
If you know how to speed this up, please let me know. I'm not hitting swap, so I think I have enough memory. I'm sure a faster CPU would help, but how much? Are there other places where I would get more bang for the buck? How much is this a function of the video card (which is admittedly and old and small 8 MB card)? How much is this a function of the X server?
Repeat for the other tiles until you have something like the desktop below.
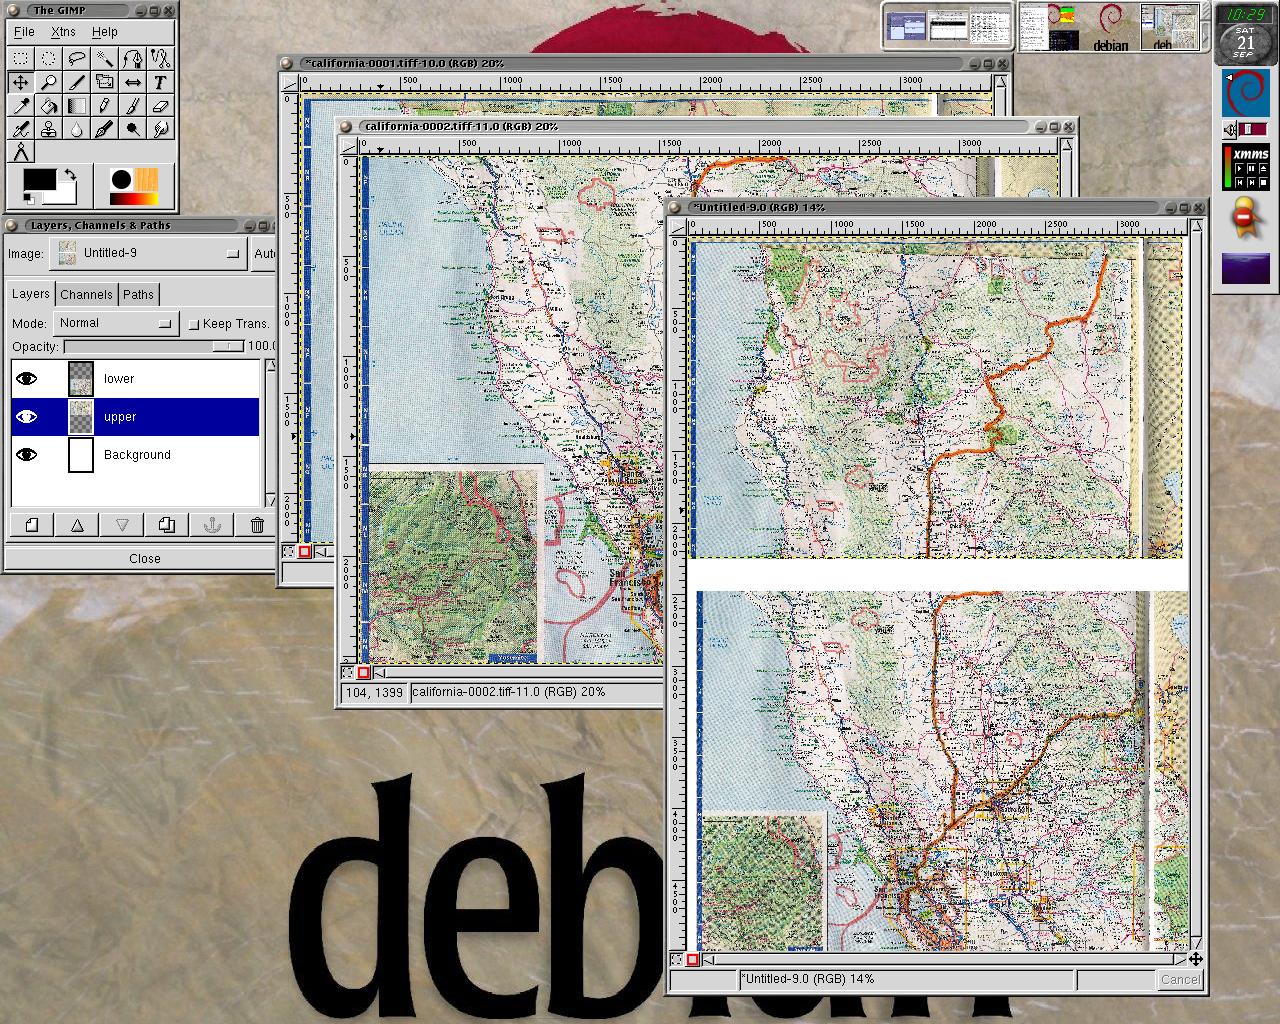
Finally, close the windows for each tile when you are done so you're left with a single window that contains each tile.
A quick search on Google revealed the Fred Morales' note in a photo.net bulletin board which is to set the opacity to about 50% and view the negative of one of the layers.
To do this, select a tile and set the Opacity in the Layers dialog.
Use the context menu item Image->Colors->Invert in the
same tile to get the negative of the image. This latter method is what
really makes it easy to line up the images.
Select the Move tool (from the tool dialog, or with
m). Drag the transparent negative over the matching
opaque section, like this:
Once you're close, you can use the arrow keys to move the layer
around. Use the transform tool (T) to rotate the image if
necessary. Select the Rotate checkbox in the Transform dialog, and
then click on the layer to rotate. This brings up the Rotate dialog.
If you've lined up the maps on the scanner accurately, nice small
values of 0.2 degrees are usually sufficient.
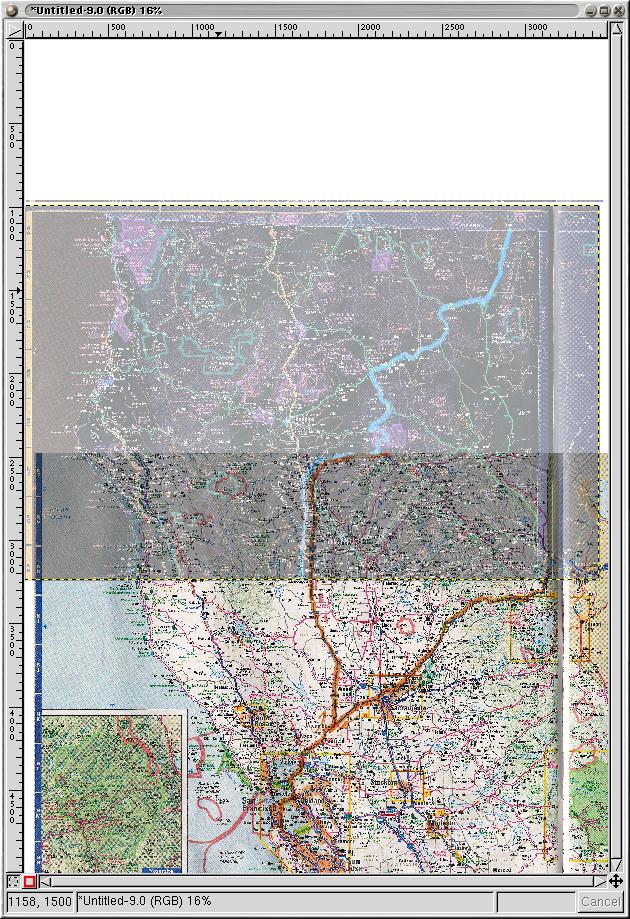
This is an art. The right combination of moving and rotating will
produce a pretty good job. Zooming in (+) helps a
lot. I find that stitching the middle first and then
investigating the edges clearly reveals the direction to rotate. The
two images below show how bad it looks when the images do not align,
and how the image becomes a very uniform shade of grey when they do.
You can then choose which of the edges matches best and then bring the layer to the top which belongs to that edge using the Layer dialog.
Finally, for the transparent layer, bring the Opacity back to 100%
and re-invert the image. Then use the Layer dialog context menu item
Flatten Image to glue all of the layers together.
Use the Crop tool (C) to crop the resultant image down
to the desired size.
Oh, in case you still haven't figured out what state the fragment above was from, check out the composite for that state:
|
Copyright © 2002 Bill Wohler Last modified: 2002 About photos |
Free DNS |