
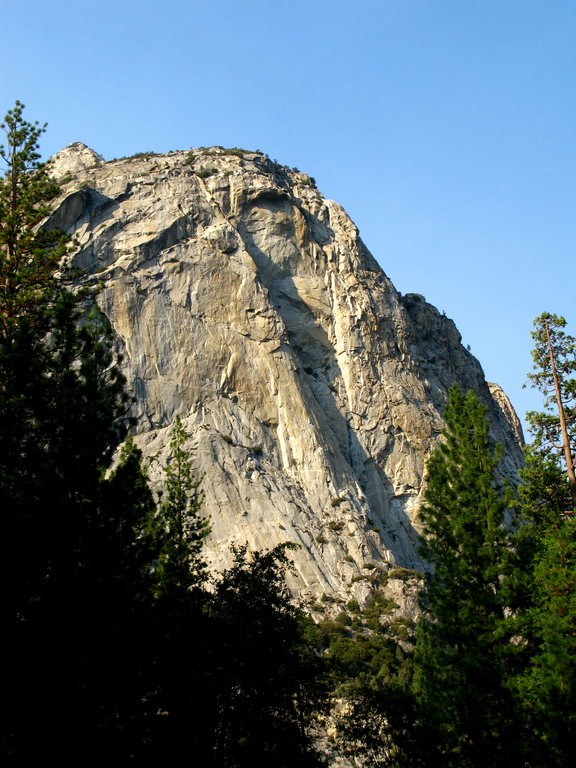
North Dome at Kings Canyon
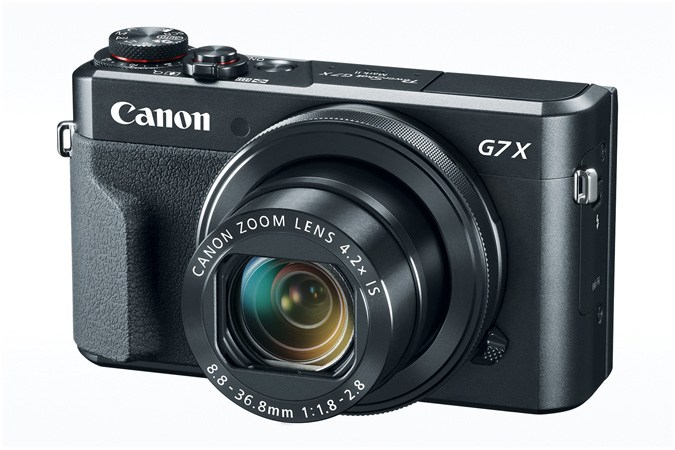
My rig, as of 2017-10-05, is a Canon G7X Mark II. And my phone de jeur.
I originally had the G9 which was a recommendation of a couple of photographer friends of mine. I wanted a small, light, fast, portable camera that would fit inside the external pouches on my packs. The G9, although heavy for a point and shoot, satisfied all of these needs, and as a bonus, it has a lot manual adjustments for the tweaker in me. I started using the G9 on the Kings Canyon Trip in 2008 and I was quite happy with it until I flooded it during the Cayman Island trip in 2012.After I flooded the G9, I purchased the G15 and started using it in New Zealand. I chipped the lens a few months later on the Iceland trip in 2013 and didn't replace it until 2017 when I started using the G7X Mark II on our hikes in the Highway 108 area as a lead-up to our Cuba trip.
I used to use manual mode a lot more to get better control over the exposure, but later switched to using exposure bias. I used to set my flash setting at -1 when the flash blew out anything close on stronger settings. I used to protect my G9's screen with a cover from ScreenGuardz but have gone without with the G15 and G7X and this doesn't seem to be a problem. Earlier, I took both RAW and JPG images, but dropped the RAW copies as I found that the JPG images were "good enough." The gimp-ufraw plugin was just too slow and too much work and I was never able to reproduce the quality of the JPG images generated by the camera. At that time, I used Picasa for post-processing, as it was fast and "good enough."

Times have changed.
For most shots these days, I've since settled on shooting in aperture priority with automatic ISO in RAW (in contrast, I've since dropped the JPG copies). I might change the exposure setting to push the histogram to the right to capture more information to achieve better image quality in post processing. For shooting long exposures on little things in dark forests, like mushrooms, I use a 2-second timer and the macro setting. I used to save these settings on C1, but since the G7X only has one C, I set C as needed. I changed the flash synchronization to 2nd Curtain a long time ago and have been happy with that (it's more pleasing to have moving objects end up somewhere than start somewhere.)
With the G9 and G15, I bought the OEM housing for underwater shots since the price was right. I did not use a strobe with those, but the flash diffuser did a pretty good job at reducing backscatter. For settings, I used aperture priority, an exposure bias of -1/3, and ISO 80. I set the flash to -1, My Colors to Vivid, and used the underwater white balance and shot JPGs. I saved these settings on C2. Another G9 photographer on the ba_diving mailing list taught me about how to change the aperture if you don't have access to the adjustment wheel (which you don't with the OEM case): while pressing the shortcut key, use the left and right arrow keys to adjust the aperture. Thanks, Brenna!
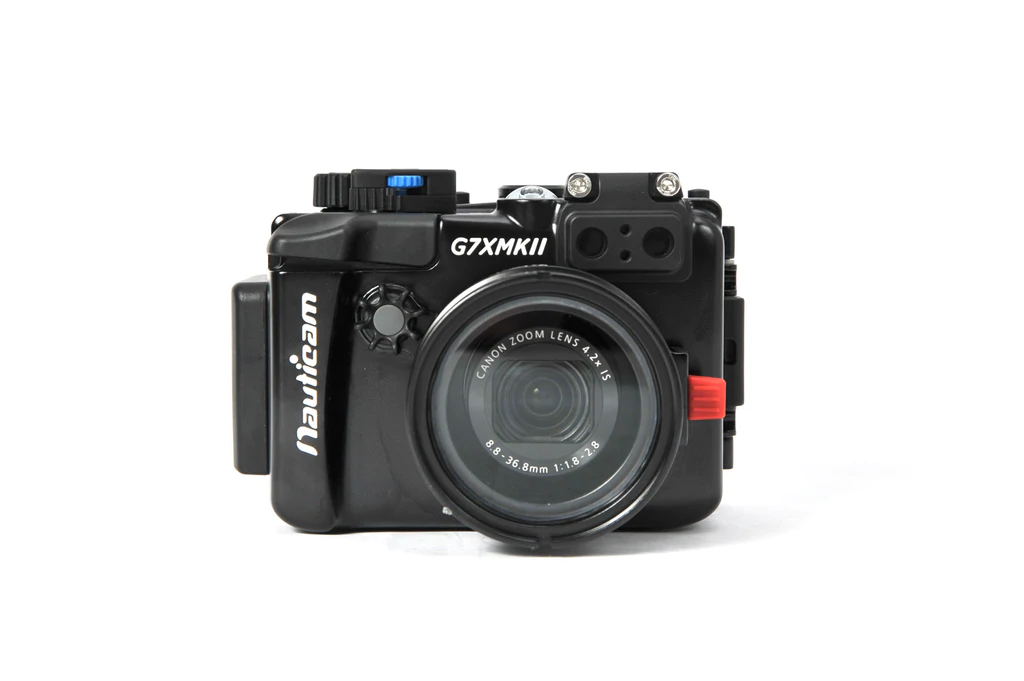
However, I since splurged on a Nauticam NA-G7XII housing and a single strobe and it's been worth it. The photos are better, and the leak detector saved my camera in Raja Ampat. (Hint: lubricate your o-rings every time you open and don't use compressed air to dry the housing.) After reading Martin Edge's, The Underwater Photographer, I've been shooting in manual mode and auto white balance underwater.
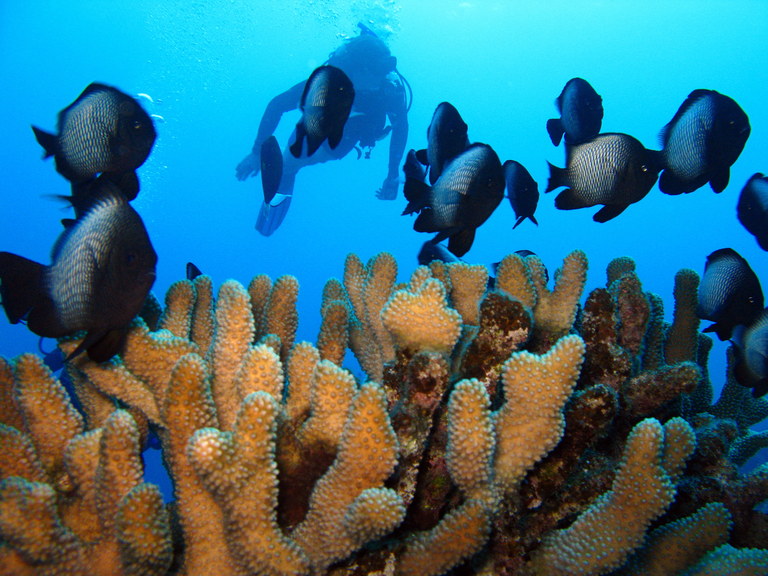
Hawaiian dascyllus at Molokini, HI
I post-process with darktable, a phenomenal open-source alternative to Lightroom. I switched when Picasa was discontinued.
Once the photos are processed, I export them as JPGs and import them to Google Photos or into my web site. I miss the Picasa feature that showed your photos on a map.
[Note that the GPS features described in the following two paragraphs may well be replaced with recent versions of darktable. Once I've used them, I may edit this section down. A lot.]
Google Photos shows the current photo on a map if the photo contains the latitude and longitude. To do this, I just let my GPS run (Garmin, or Strava on my phone) whenever I'm shooting photographs. Later, I use the gpscorrelate tool to use the GPS track to set the GPS information into the photographs. (Hint: Don't save tracks on Garmin units since that removes the time information. Either use the active log or the track saved to the card.)
Occasionally, I won't have GPS information for a photo. In that case, I'll use exiftool to either copy the GPS information from another photo, or set it manually. If you use Google maps in satellite mode, you can use the context menu to center the map at the cursor which should be over your location of interest. Then press on the link icon (upper left) and cut and paste the latitude and longitude from the URL that it provides in the "ll" parameter. Here are a few examples that demonstrate both techniques, as well as how to list the GPS tags in a format that can be used to set the latitude and longitude. The exiftool FAQ is handy. Note that exiftool uses the absolute value of the coordinates, so be sure to set GPSLatitudeRef, GPSLongitudeRef, and GPSAltitudeRef accordingly.
exiftool -TagsFromFile src.jpg -gps:all -preserve dest.jpg

exiftool -GPSLatitude=37.235172 -GPSLatitudeRef=N \
-GPSLongitude=122.066092 -GPSLongitudeRef=W \
-GPSAltitude=42 -GPSAltitudeRef=above \
-preserve -overwrite_original dest.jpg

exiftool -GPSLatitude="19 16.117" -GPSLatitudeRef=N \
-GPSLongitude="81 18.683" -GPSLongitudeRef=W \
-GPSAltitude=0 -GPSAltitudeRef=above \
-preserve -overwrite_original dest.jpg

exiftool -a -s -c "%.6f" -gps:all src.jpg
Sometimes I forget to change the time zone or adjust for daylight savings time for a day or two. This writes incorrect date information in the photos. In addition to being wrong, it also makes it harder to get the correct GPS information. Here's another exiftool example for browsing the dates in the photos and then adding an hour to the dates.
exiftool -*Date* -s *.jpg
exiftool -*ModifyDate+='0:0:0 1:00:0' -*DateTimeOriginal+='0:0:0 1:00:0' \
-*CreateDate+='0:0:0 1:00:0' -preserve -overwrite_original img_6990.cr2
The hugin program makes it a cinch to produce panoramas. The following panorama was created with at least six images, shot using the stitch-assist feature in the G9. However, in practice, I use my Android phone to shoot panoramas.

The Great Western Divide in Kings Canyon NP
I am, of course, still finding my way, humbly. I have gotten this far through reading, heeding advice from friends, and stumbling clumsily on my own. If you have settings that have worked well for you, or have found handy Linux tools, I would love to hear from you. In particular, I'm looking for automated ways to create HDR (High Dynamic Range) images, as well as to stack exposures of the night sky.
|
Copyright © 2008, 2010, 2013, 2015, 2022, 2026 Bill Wohler Last modified: Fri Apr 3 08:10:06 PM PDT 2026 About photos |

Free DNS |